HEAD POSITION IN FREESTYLE SWIMMING (THE TREE LOG METHOD THAT ACTUALLY WORKS)
The secret to effortless swimming isn't about brute force; it's about physics. It's about learning to become a floating tree log, perfectly balanced and streamlined, moving through the water with the least possible resistance.
This guide will walk you through the foundational drills to master the correct head and body position, which is the key to unlocking a more efficient stroke.
Key Takeaways:
- For every cm you lift your head in freestyle, your hips drop much further down - the seesaw effect that explains why most beginners exhaust themselves.
- The goal is to swim in the water, not on top of it - and understanding that difference changes everything about how you position your body.
- The biggest breathing mistake isn't about your lungs - it's about your head. (Watch the short video below to see the drill in action.)
⚡ Quick Summary: Stop Kicking Harder (The Real Reason Your Legs Sink)
Short on time? Get the key highlights from this article in just a few minutes. This video summary walks you through the physics of sinking legs and the exact 3-step Tree Log progression, perfect if you want a quick visual overview of the concepts before reading further.
Dive Into: The Tree Log Method
- Why Streamlining is the Foundation
- 🎧 Listen: The Physics of Sinking Legs (Audio Deep Dive)
- Why Head Position Changes Everything
- The Floating Tree Log Drill
- The Extended Tree Log Drill
- The Dead Man's Float Drill
- Common Head Position Mistakes
- Frequently Asked Questions
Why Streamlining is the Foundation
If you have gotten this far, you have seen the light and are serious about improving your swimming, so let's get started.
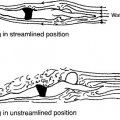
Forget about swimming endless kilometers without a purpose. Every swim school worth your time teaches the same fundamental principle: streamline your body to move through the water with the least possible resistance. Get this right first, and everything else improves faster. Get it wrong and swim a thousand kilometres, you'll just get very good at swimming badly.
In my experience, improving your stroke technique comes first and as a matter of fact, it also provides the fastest visible improvement in terms of your speed (if you are to compete) or in terms of the distance you are able to swim without getting exhausted.
So, stop chasing the distance and focus on what really matters, technique.
But enough theory, let's get in the water and fix this.
We'll first focus on shaping your body to have the least resistance in the water and as simple as this sounds, it will take a lot of repetition and patience on your part until you get it right and it becomes second nature (especially if you have imprinted some bad habits into your swim stroke already).
🎧 Listen: The Physics of Sinking Legs (Audio Deep Dive)
Want to go deeper? Play this full breakdown Audio Masterclass while you stretch or commute.
In this episode, we dissect the physics of the "seesaw effect," explain why your primal instinct to look forward is ruining your stroke, and troubleshoot the dreaded breathing trap.
So let's get to the basics:
Why Head Position Changes Everything
Here's the coaching cue that makes this click for most swimmers:
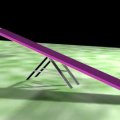
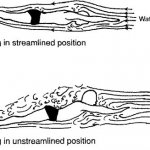
The moment your head lifts, your hips drop immediately and dramatically. It's a seesaw with your chest as the pivot point.
The same teeter-totter principle from the dead man's float. Lift the front end, the back end drops. Every time a beginner swimmer looks forward to see where they're going, their legs sink like an anchor and drag explodes. They then kick harder to compensate, burn through their energy in the first 25 metres, and wonder why swimming feels so exhausting.
It doesn't have to be. Fix the head, and the legs follow.
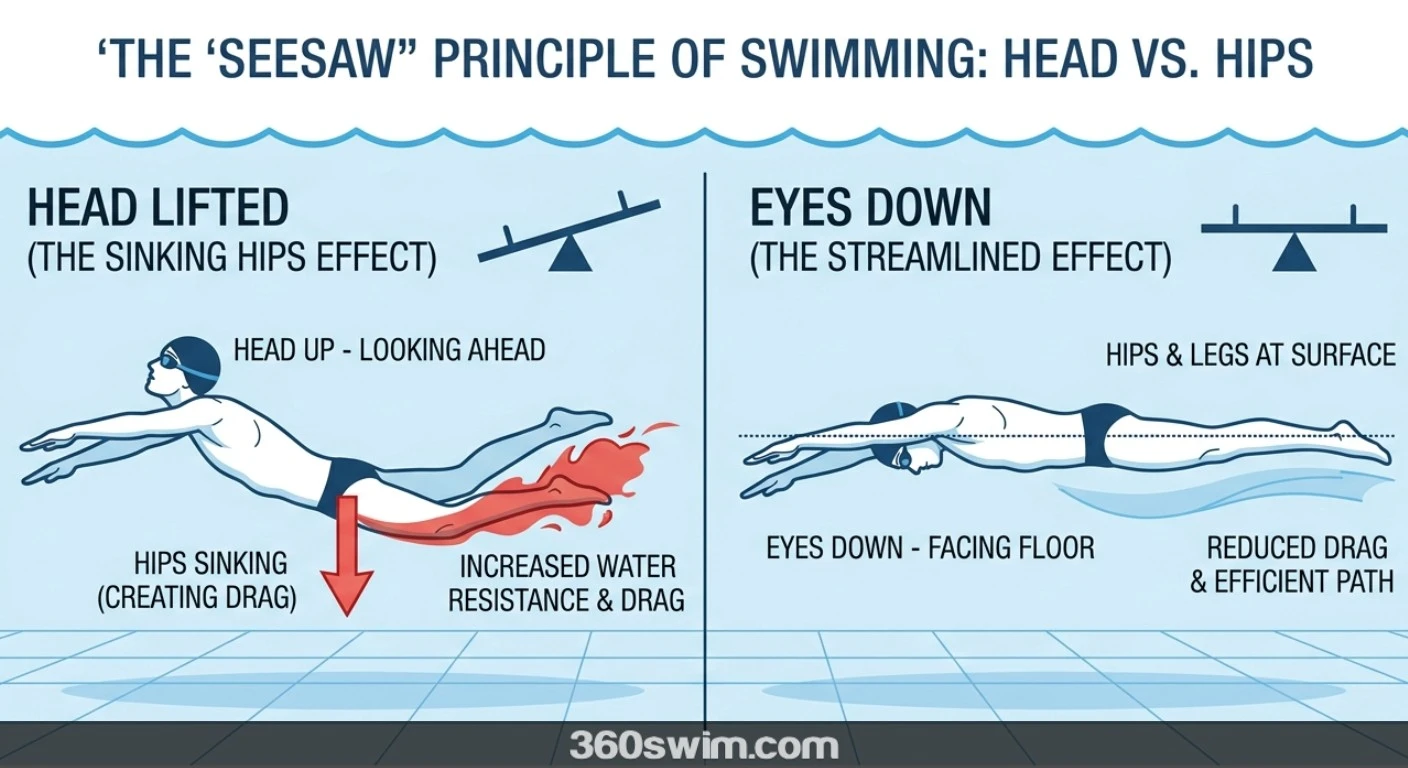
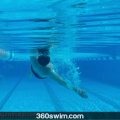
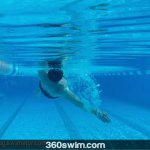
The correct position is simple but counterintuitive: eyes looking straight down at the pool floor, neck relaxed, the back of your head barely breaking the surface. You're not watching where you're going. You're trusting the lane line beneath you and letting your body do what it's supposed to do.
What about breathing?
This is where most swimmers undo everything. They get the resting head position right, then lift their head straight up to breathe and in that one moment, hips drop, legs sink, and the drag they just eliminated comes flooding back.
The correct breathing technique isn't about lifting your head, it's about rotating your body. Roll to the side, let your head follow that rotation, and one goggle stays in the water while the other clears it. The breath happens in the space created by body rotation. Your head never needs to come fully out of the water to get air.
This is a more advanced step and you don't need to master it before practising the drills below. But understand it early: the head position you're building in the tree log drills is the same position you need to maintain while swimming, including during the breath.
The Floating Tree Log Drill
Contrary to an old-school belief, the waterline should NOT be on the line where your hair meets your forehead and your eyes should NOT be watching what is in front of you (assuming you are on your belly).
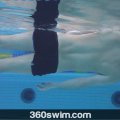
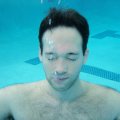
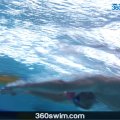
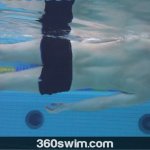
Your head should be suspended in the water where only the back of your head is barely dry, your neck is wrinkle free and your eyes are looking straight down to the bottom.
You actually need to strain your head much more to keep it in the wrong position, so just relax it.
There are many swimming drills and exercises you can do to practice this and below you will find a few to get your body in the right place.
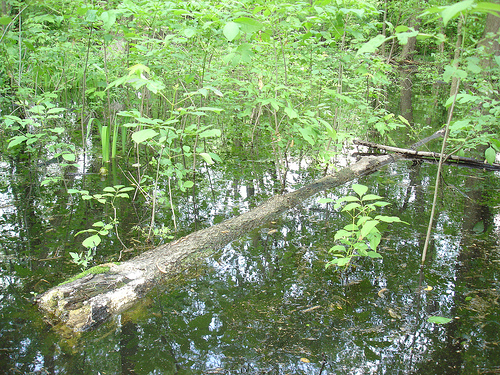
As a tree floats nicely straight in the water, so should you.
Note, I said, IN the water, not ON the water.
What I mean by this is that you should NOT strive to get as much of your body out of the water as possible. Instead, your goal should be to lay streamlined in the water, more than likely with a very small part of your body above the water, but this is fully individual. You might find yourself very slightly more submerged than others and this is perfectly fine as long as you can keep your body in a straight line.
This is what you do:
Gently push off the side or the bottom of the pool and get yourself in the position where your arms are resting relaxed at your side, your eyes are looking straight down to the bottom of the pool, your neck is nicely straight and has no wrinkles.
You might even feel that you are suspended more in the water than above the water, but this is perfectly fine.
Lay like this for a few seconds and then do it again and again. Suggested repetition is 10x at the beginning of each of your swim sessions.
You can add a slight travel kick to keep you going forward very slowly.
The important part is to get comfortable being one with the water and not trying to fight it.
Let yourself float in peace.
The Extended Tree Log Drill
Some coaches call it a "Superman drill", but I do not like to call that as that is not what it is.
Superman flies with his head looking where he is going and with arms at his side or one arm forward, but as you read above, this is NOT the way to do it.
So, let's call it the extended tree log.
Same as above, you can gently push off the wall or bottom of the swimming pool, but instead of your arms being at your side, you will extend them shoulder-width apart in front of your head.
So you basically extend your tree log further.
However, the important part is that your arms stay submerged in the water and at a very slight angle towards the bottom of the pool. If the water surface is 0 degrees, then you can put them in -15 degree angle.
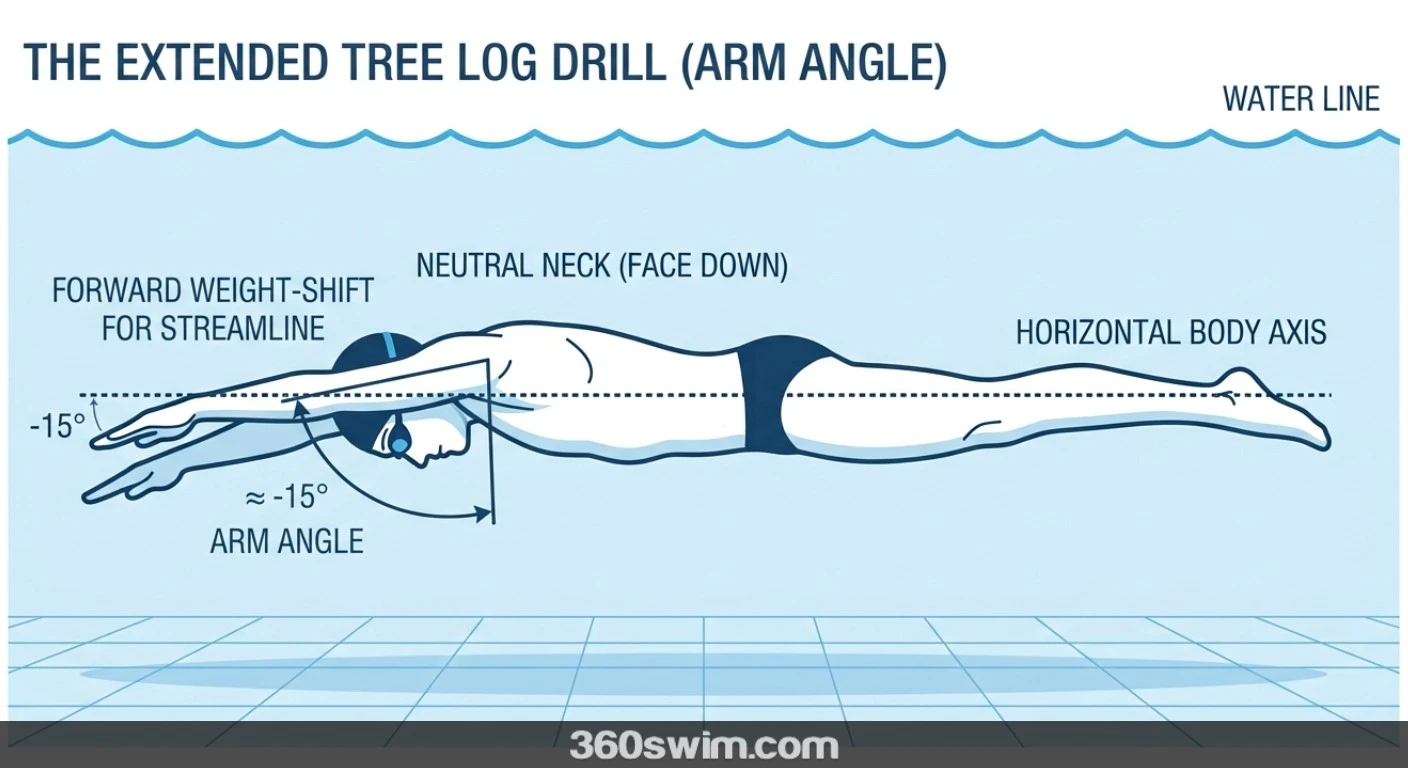
Again, your eyes are looking straight down into the water, your neck is extended with no wrinkles and relaxed.
You can perform this exercise in two sets.
First 10 repetitions, extend your arms and leave them relaxed, add a slight travel kick if need to be. By travel kick I mean, kick very slowly, just to help with keeping some forward motion.
The second set of 10, instead of your arms being just loosely in front of you, try to extend your arms out of your shoulders, so you get them 5-10 cm further.
Remember, keep them at your shoulder width to simulate the position your arm is in when you swim (so you do not learn to cross over).
If done properly, you will find that it is much easier to stay afloat in the Extended tree log floating position than in the regular Tree log drill and if you extend your arms out of your shoulders even further, floating becomes even easier.
The reason here is that you are adding more weight to the front of your body (muscles and bones weigh more), thus moving your center of gravity and center of buoyancy closer together and that is what you want to achieve to swim in a streamlined position.
To truly connect this weight shift from your extended arms to your lifting legs, gently engage your core (pull your belly button slightly toward your spine). A floppy core breaks the teeter-totter effect.
The Dead Man's Float Drill
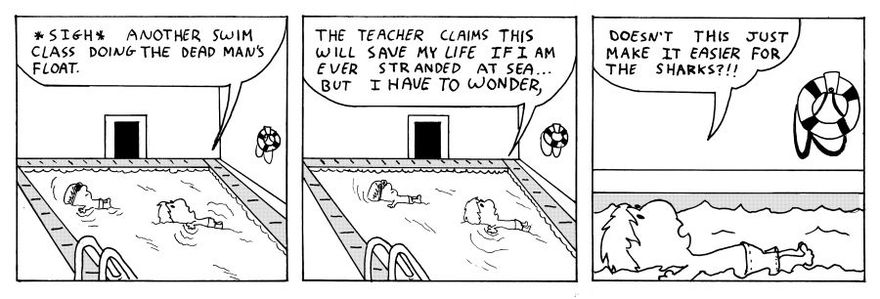
As morbid as it sounds, this swimming drill is very good at learning to feel the position of your body in the water and learn to streamline it.
I have already described the logistics in tips for beginners post, but let me try it again.
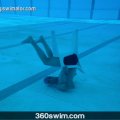
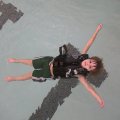
Start in a deep end of the pool, take a deep breath, put your face in the water and totally relax your arm and legs.
The air in your lungs will keep your chest afloat, but your arms and legs will sink towards the bottom of the pool.
When your body stops moving and you are totally relaxed, start SLOWLY moving your straight arms to the same position as in the Extended Tree Log swimming drill described above.
Remember, make sure the hands/arms do not break the surface of the water. Keep them under at about -15 degree angle (even -30 if that is easier for you).
When your arms are in the Extended Tree Log swim position, then extend your arms out of your shoulders again, so you reach further. Thus, putting more weight to the front of your body.
Note: your head is still relaxed looking at the bottom of the pool with no wrinkles in your neck.
What you will notice here is that your legs will start slowly rising towards the surface of the water.
How far will your legs raise?
Well, this is fully dependent on your body composition. If you are all muscle, they will not rise to the surface, but if you have a bit of fat which you should, they will rise up.
You can then help to keep them there with a bit of back muscle strength, but this takes a while to practice.
If your legs are not rising, try to burrow your head and arms a bit deeper into the water and your legs should move up.
Try this about 5x at the beginning of your swim workouts and when you think you got it, do it 1-3 times each time you swim, so it becomes second nature to you.
If you are practising these drills in open water rather than a pool, a swim buoy keeps you visible and gives you something to hold onto between reps.
Common Head Position Mistakes
These are the four mistakes that show up most often - in beginners and experienced swimmers alike.
1. Looking forward instead of down The most common one. The wall at the end of the lane is not going anywhere, you don't need to watch it. Eyes on the pool floor, every length, every time. If you can see the other end of the pool, your head is too high.
2. Fighting to stay on top of the water Trying to get as much of your body out of the water as possible creates tension throughout your entire upper body. You should feel suspended in the water, not perched on top of it. Relax into it.
3. Wrinkles in the neck A neck with wrinkles means your head is either too high or too far back. Your neck should be long and relaxed. Imagine someone gently pulling the top of your head forward. No wrinkles means your spine is aligned.
4. Lifting the head to breathe Covered above but worth repeating as a mistake because it's so common. Rotate to breathe, never lift. One goggle in, one out. The moment both goggles clear the water to breathe, your hips have already dropped.
The pattern: every mistake above increases drag. Every correction reduces it. The tree log drills train the resting position. Once that's automatic, applying it to a moving stroke becomes much easier.
Happy floating. Remember, mastering this feeling of being a balanced, streamlined log is the true secret to swimming with power and grace.
After you have mastered these exercises, come back for the next swim lesson. And if you want to understand the drag science behind why all of this matters, read the full streamline explained guide - it covers the physics in detail and connects directly to what you've been practising here.
Frequently Asked Questions
What is the correct head position in freestyle swimming?
Your eyes should look straight down at the pool floor. The back of your head should be barely dry or slightly submerged, your neck relaxed with no wrinkles. Think of a straight line running from the top of your head through your spine - your head stays in line with that, not lifted or tucked too far down.
Why do my legs sink when I swim freestyle?
Almost always, sinking legs trace back to head position. For every cm you lift your head, your hips drop much more - it's a seesaw effect. Lift your head to look forward and your legs immediately drag. Keep your eyes on the pool floor and your legs will rise naturally.
Where should I look when swimming freestyle?
Straight down at the bottom of the pool. Not forward, not at the wall, not at your feet. Looking down keeps your spine aligned, reduces drag, and lets your hips stay high. The only exception is a brief glance forward to navigate in open water.
What is the tree log method in swimming?
It's the principle of keeping your body straight and streamlined in the water like a floating log - in the water, not on top of it. A log doesn't fight the water; it moves through it with the least possible resistance. Three drills build this: the Floating Tree Log, the Extended Tree Log, and the Dead Man's Float.
How does lifting your head affect your swimming?
Lifting your head creates a chain reaction: head up, hips drop, legs sink, drag increases dramatically. You then have to kick harder just to stay horizontal - wasting energy that should be going toward propulsion. This is why tired, breathless swimmers almost always have their head too high.
What is the biggest head position mistake when breathing in freestyle?
Lifting the head straight up to breathe rather than rotating to the side. When you lift your head forward to breathe, your hips drop instantly. The correct technique is to rotate your body to the side and let your head follow that rotation - one goggle stays in the water, one comes out. The breath happens in the space created by body rotation, not by lifting.
What are the best drills for correct head position in swimming?
Three drills in sequence: the Floating Tree Log (arms at sides, eyes down, neck relaxed - get comfortable being in the water not on it), the Extended Tree Log (arms extended forward at -15 degrees, feel how the weight shift lifts your legs), and the Dead Man's Float (start fully relaxed then slowly extend to feel the teeter-totter effect). Do 5-10 reps of each at the start of every session.
Should I try to swim high on top of the water?
No - this is one of the most common misconceptions (unless you are an experienced sprint swimmer). The goal is to be streamlined in the water, not on top of it. A small part of your back may break the surface, but you should feel suspended in the water. Fighting to get your body out of the water creates tension and drag, not speed.
Stuck at the same pace?
Your technique might be the problem.
Describe what's holding you back, sinking legs, breathing, no rotation, and get a personalised drill sequence when we launch.
Be one of the first to get access.
 LNURL1DP68GURN8GHJ7URP0YHRXD3SWDMKJMFWVDHK6TMVDE6HYMRS9A4HSCNCWFXSH3NN0H
- or simply send using my Lightning Address⚡swmtr@360swim.com or swmtr@getalby.com
Swim Advice Topics
Head Position in Freestyle Swimming (The Tree Log Method That Actually Works) is part of the following categories:Swimming articles you might also like:



Speak your mind
🎧 New Podcast
 Turn your commute into swim training.
Binge-Listen Here Full playlist · screen-off friendly